Migrating Windows 11 to NVMe: A Practical Guide for Engineers
| Shelf | Security |
|---|---|
| Date in | |
| Readers | 496 |
Learn how to efficiently clone your Windows 11 installation from an old SATA SSD to a new NVMe SSD, ensuring a seamless transition without a complete reinstall.
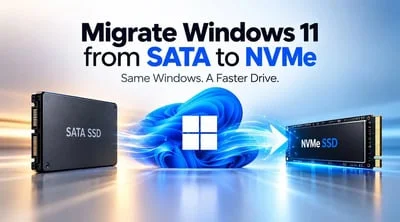
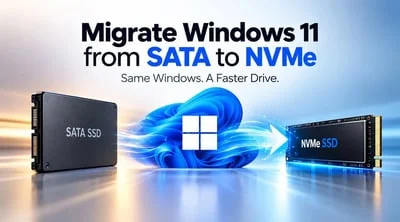
Understanding the Migration Process
When transferring a Windows 11 installation from an older SATA SSD to a new NVMe SSD, the process demands a precise approach to ensure functionality without starting from scratch. Julian Horsey at Geeky Gadgets outlines these steps, emphasizing a crucial point: Windows consists of more than just the OS itself on a single partition. Instead, the operating system relies on multiple partitions, including the EFI System Partition and the Windows Recovery Environment. Thus, executing a full-disk clone emerges as the best practice, avoiding the pitfalls of merely copying the C: drive which won't yield a bootable system.
Choosing the Right Cloning Software
A variety of software options exist to facilitate the cloning process, each with their own strengths:
- Rescuezilla: A free and open-source option that boasts a graphical user interface, ideal for users seeking a straightforward, visually supported cloning experience from a bootable USB.
- Clonezilla: While more complex, this text-based utility provides advanced features for power users who require deeper control over the cloning process.
- Macrium Reflect: Known for its reliability, this software offers both free and premium versions with a good balance of functionality and ease of use.
- Manufacturer-specific tools (e.g., Samsung Magician): These tools often provide optimizations that can maximize the performance of your NVMe SSD during the cloning process.
Each of these tools can efficiently facilitate the migration process, allowing users flexibility depending on their expertise and specific requirements.
Preparation Steps Before Migration
Proper preparation can prevent complications during the SSD migration process. Here are essential steps to consider:
- Backup Essential Data: Prioritize backing up all important data before proceeding with the clone. This serves as a safety net if any issues arise during migration.
- Check for BitLocker or Device Encryption: If either of these is enabled on your current system, retrieve the recovery key beforehand. This step ensures that you won't be locked out of your data after the migration.
- Verify M.2 Slot Compatibility: Confirm that the M.2 slot on your motherboard supports NVMe rather than just SATA. This verification step is critical to ensuring that the new SSD will function correctly.
Executing the Clone
Once the preparations are complete, the actual cloning process can begin. The following steps will guide you through:
- Boot from your chosen cloning software, ensuring that the old SATA SSD is still connected to your system.
- Follow the prompts to select the source disk (the old SSD) and the target disk (the new NVMe SSD). Make sure you choose to clone all partitions needed for Windows functionality.
- Initiate the cloning process and wait for it to complete. Depending on data volume and software efficiency, this may take some time.
Post-Cloning Verification
After the cloning process is finished, a critical step awaits:
- Disconnect the Old Drive: To validate that the new NVMe SSD operates correctly as the primary boot device, disconnect the old SATA SSD.
- Boot Up Your System: Restart your computer and check if Windows 11 boots successfully from the NVMe SSD. If it does, it indicates a successful migration.
- Check Disk Health and Recovery Options: Use tools to assess the status of the new SSD. Verify that recovery options are functional and, if applicable, extend partitions to utilize any unallocated space on the NVMe drive.
Limitations and Future Considerations
While cloning is often simpler than a fresh installation, it’s not without its limitations. For instance, issues may arise related to system performance if the old SATA SSD has legacy drivers that don’t fully leverage the capabilities of the NVMe drive. Additionally, consider monitoring the stability of the installation, as unexpected failures can indicate deeper compatibility issues.
For those looking ahead, advancements in SSD technologies and cloning software hint at future possibilities for even more efficient migrations and optimizations. Keep an eye on emerging tools that further refine the cloning process, along with storage technologies that may offer unprecedented performance enhancements.
For visual learners, be sure to check out the video guide linked below for a step-by-step overview and detailed explanations. More insights and specific guidance can be found at Geeky Gadgets.